> For the complete documentation index, see [llms.txt](https://gitbook.keytrust.one/llms.txt). Markdown versions of documentation pages are available by appending `.md` to page URLs; this page is available as [Markdown](https://gitbook.keytrust.one/off-ramp/quickstart.md).
# Quickstart
### Overview
In this Quickstart, you will facilitate the sale of cryptocurrency via the MoonPay Off-Ramp, directly from your browser.
Whether you are a complete beginner to coding or a seasoned expert, this guide will take you through all of the necessary steps to have you converting cryptocurrency to fiat in no time.
***
### What you will accomplish
In this tutorial, you will:
* Configure Off-Ramps widget in a local environment
* Create a new folder for the implementation
* Initialize the widget in a file using HTML and JavaScript
* Edit the widget parameters
* Display the fully functional widget locally in your browser
***
### Prerequisites
Before beginning, you will need:
* **A MoonPay account**: If you do not have one, set one up through our team on [this page](https://dashboard.moonpay.com/signup).
* **An IDE (coding software):** Some popular ones are [Visual Studio](https://visualstudio.microsoft.com/downloads/), [IntelliJ IDEA](https://www.jetbrains.com/idea/), and [Eclipse](https://eclipseide.org/). We will be using Visual Studio in this tutorial.
* **A web browser:** Any web browser will work. We will be using Google Chrome in this tutorial.
***
### Implementation
#### Step 1: Set up a file for your integration
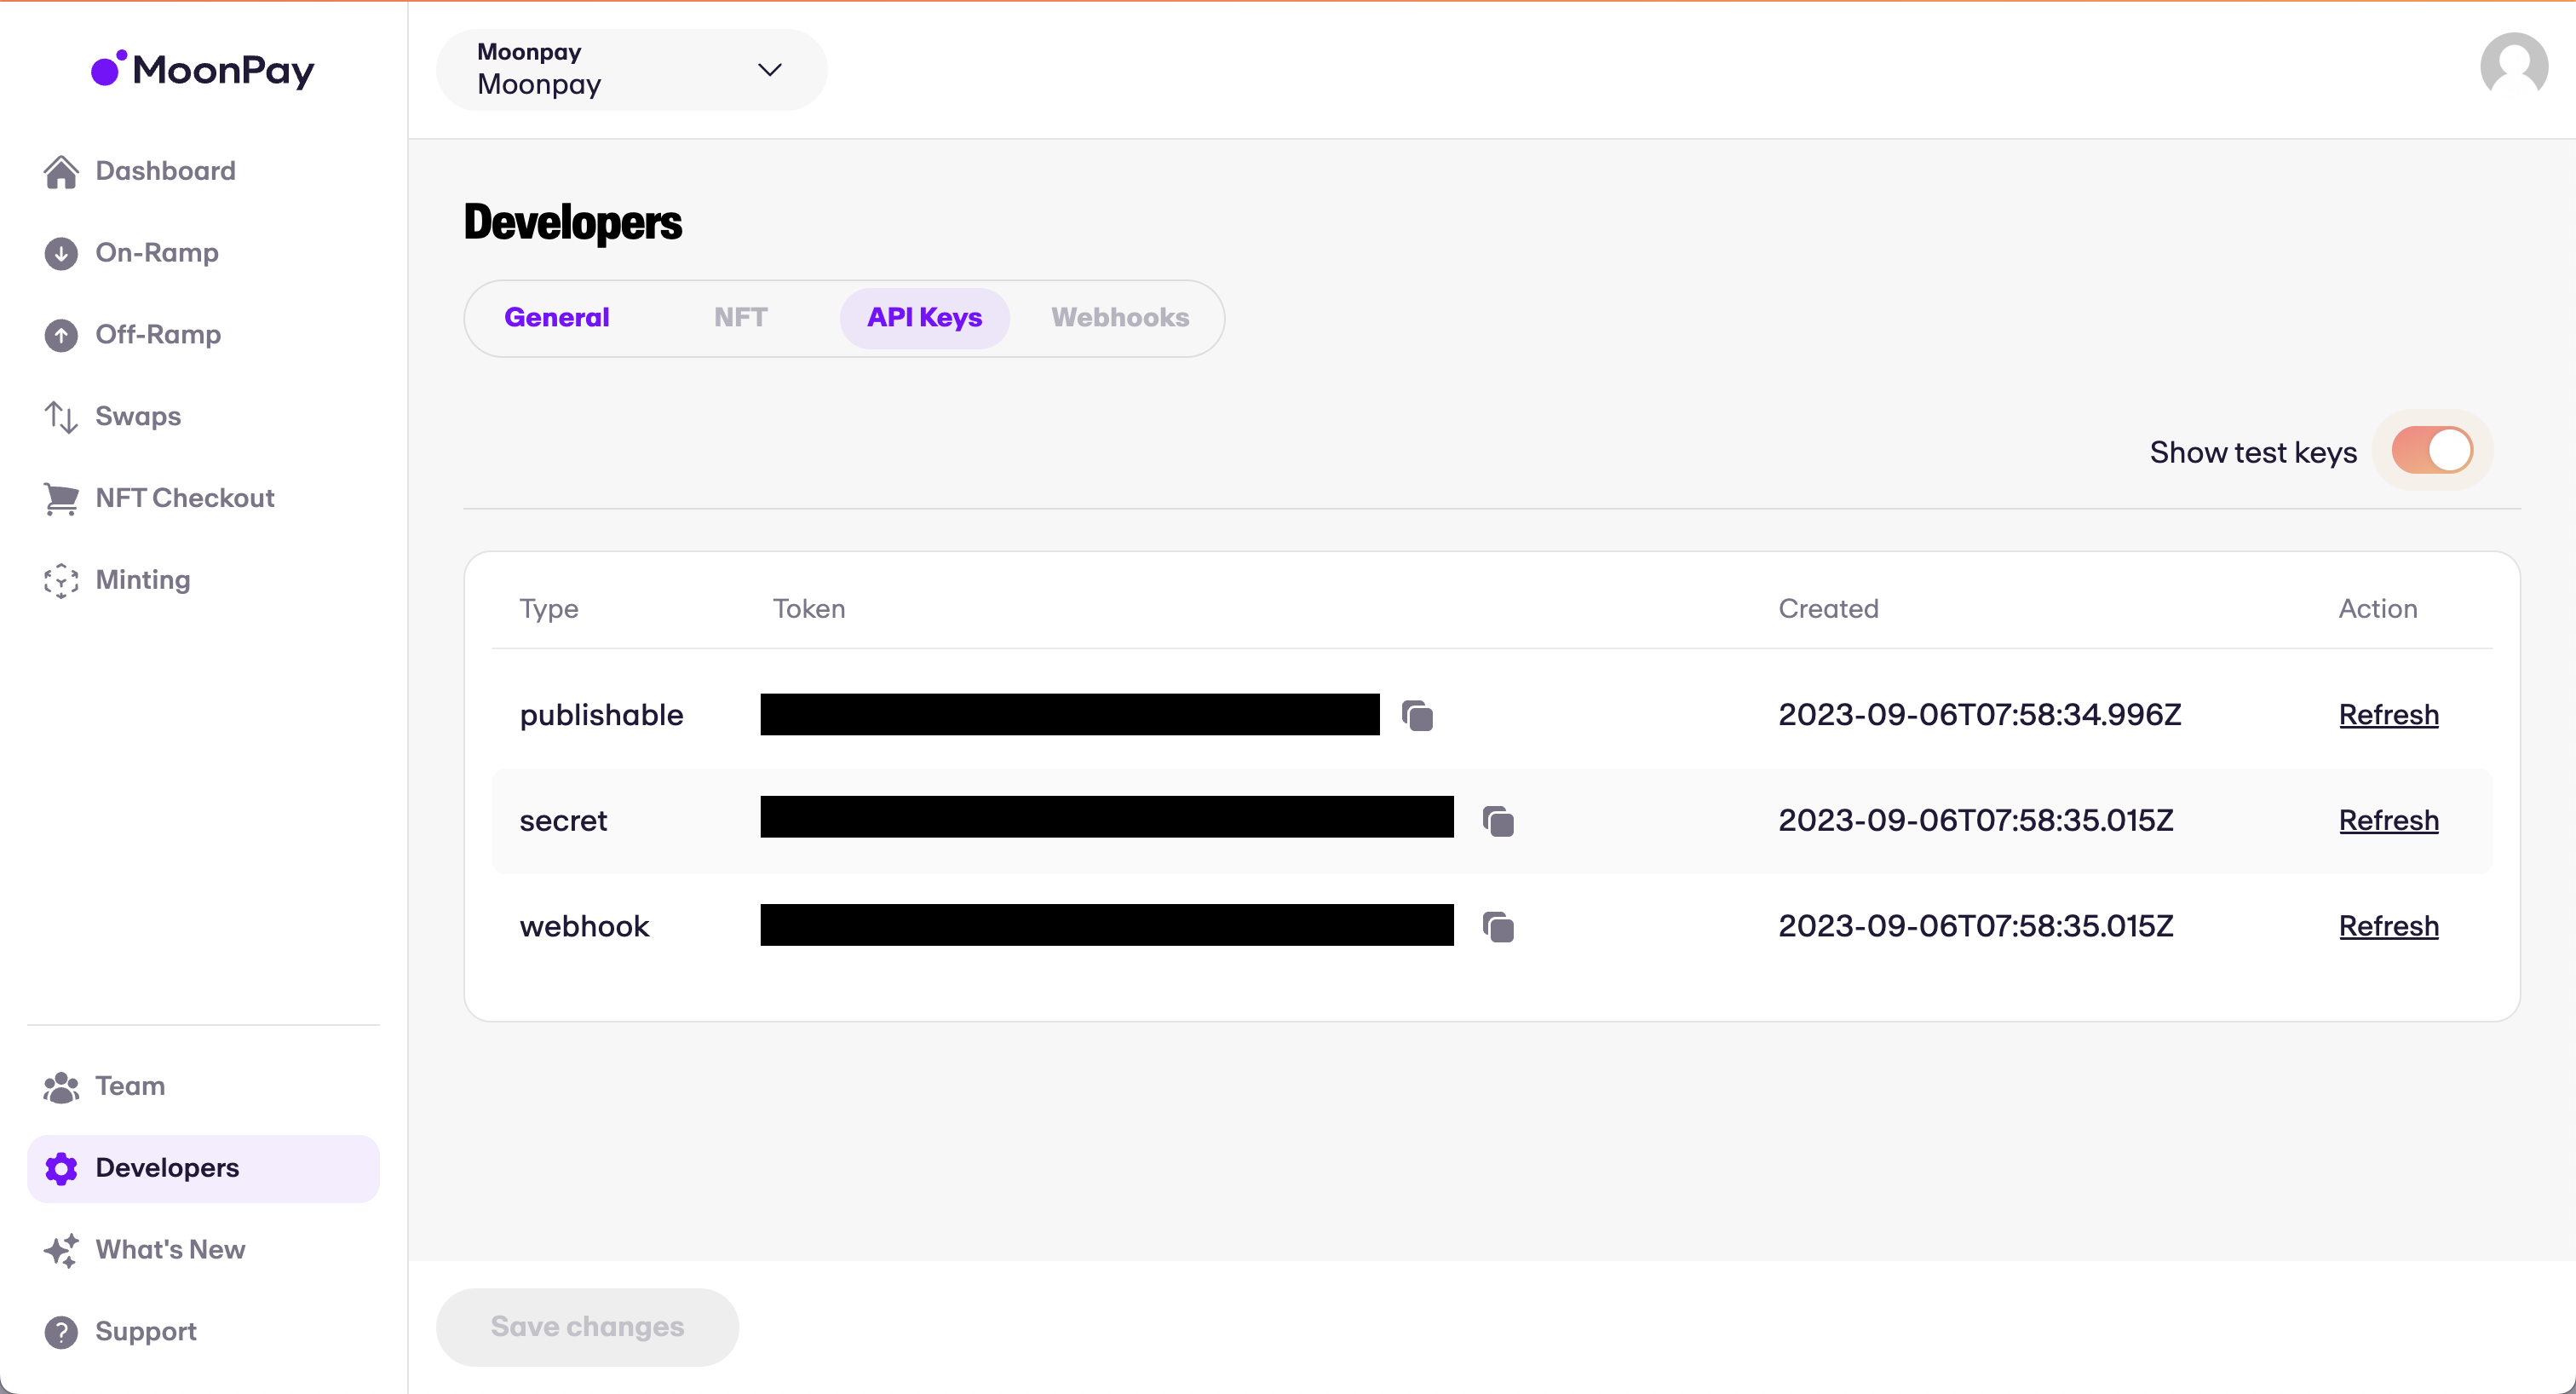
#### Step 2: Retrieve API keys from the MoonPay Dashboard
In your IDE, create a new file for your Off-Ramp code. Ours will be called off-ramp.html.
* Navigate to your [MoonPay Dashboard](https://dashboard.moonpay.com/) and log in.
* Once logged in, navigate to the Developers tab on the sidebar → API Keys.
* Here, you will be able to copy your API keys. In this tutorial, we will be using the publishable test key.
#### Step 3: Insert HTML and code into off-ramp.html
* The code below will embed our Software Development Kit (SDK) directly into your HTML by way of `